Amateur Radio Public Seismic Network

Assembling VolksMeter II - 2CUG Kit
"And I did it my way," Sid
Vicious
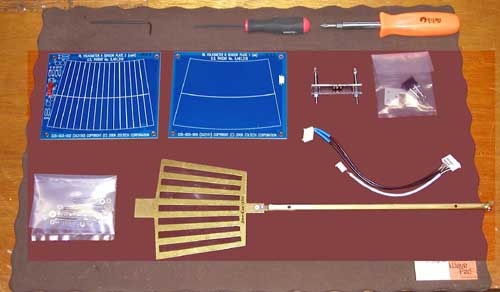
2CUG Kit Highlighted - Tools part of original
1RU
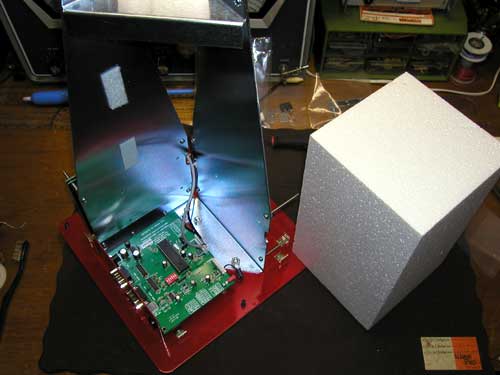
Open 1RU with Thermal Insulation Removed
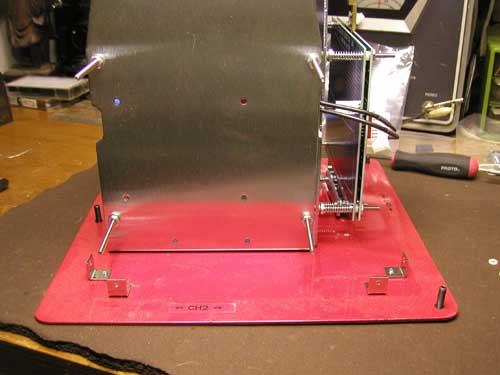
Inserted 4 bolts
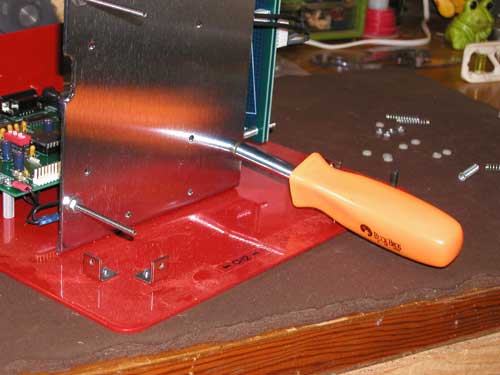
Tightened bolts with supplied combo wrench
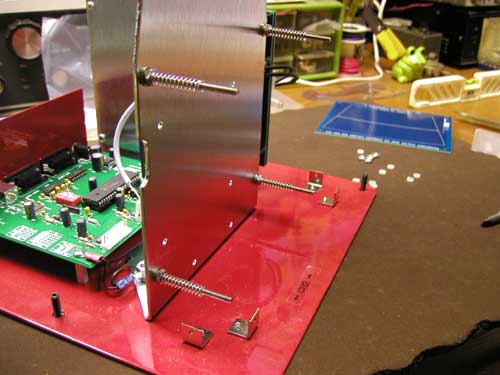
Inserted 4 springs
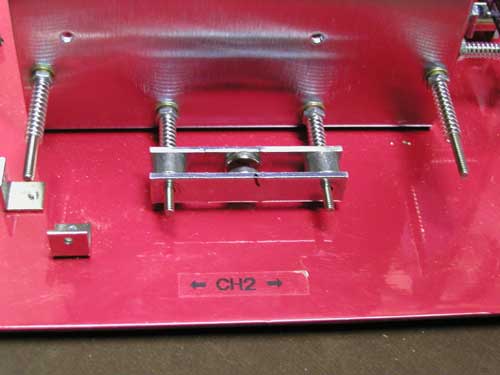
Installed
Magnetic Eddy Damper
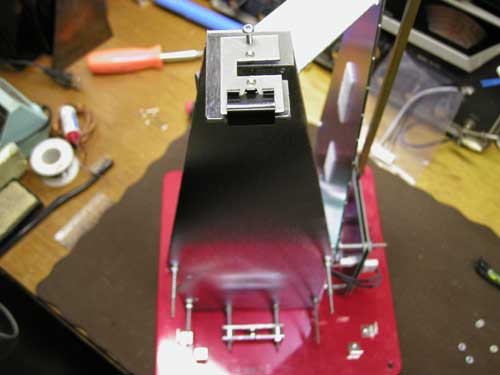
Installed
Pivot Plate, Bearing Balls, and Spring Clip
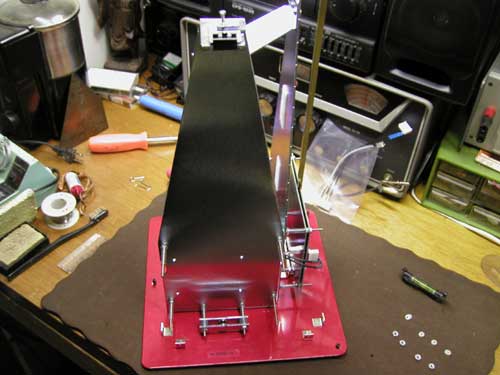
Before
2nd RU Installed
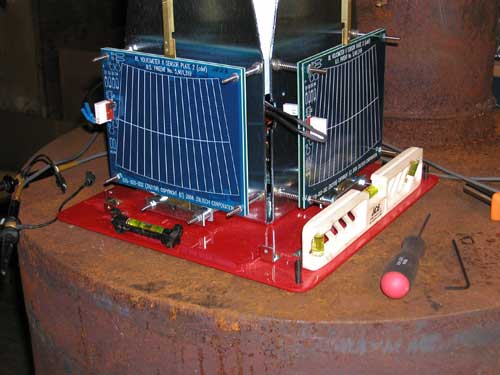
2nd
Channel and Pendulum Installed
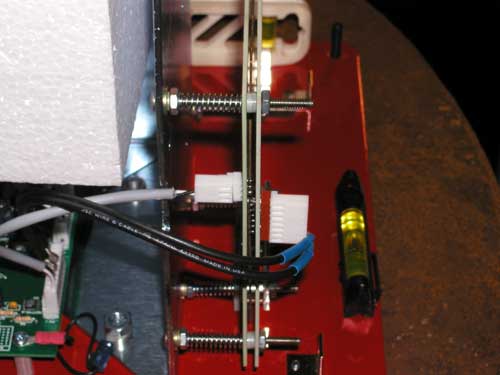
Installed
Wiring and Aligned Pendulum
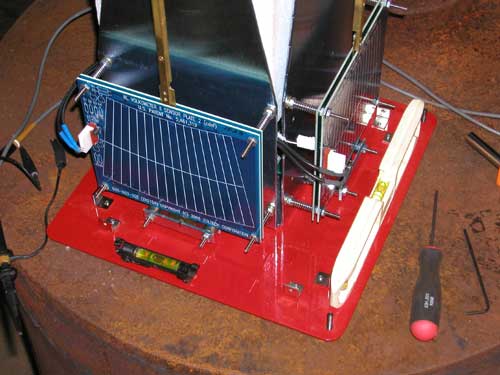
Final
Test Alignment
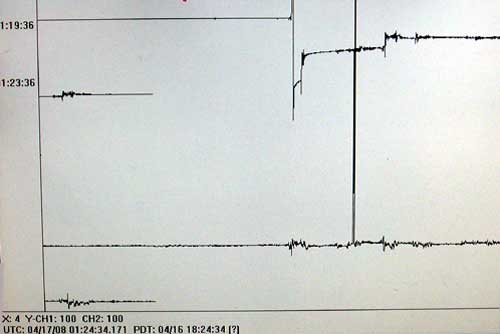
VolksMeter
II - 2RU Ready for Permanent Install
(fwiw) At this point, it is worthwhile to know I am the first person to install one of these kits and there is no manual or documentation (yet); however, using the 1RU as a model, the install has been easy.
This page is incomplete and has notes to be added.